Thursday, February 19, 2015

Handy Sandy - How to Patch a Bike Tire Tube

Yup... another episode of Handy-Sandy. But it bodes well for the future. Last month Mama noticed the front tire on her bike was flat... not low... but completely flat. Uh-oh... So today we are going to patch it. Mama says she hasn't done this for... like... never! But the theory is basic... So here we go.

First... you pry the tire off the rim. This was the hardest part.... you need a screw-driver or something to lever one edge off and then work around until one whole side of the tire is off... Then you wiggle the tube out and get the whole tire off.

Next... you pump up the tube and then put it in water to see where the leak is...

Do you see the bubbles?? That's where it is!
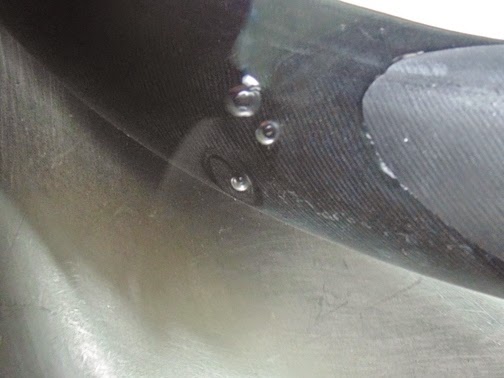
Then you pull it out of the water and mark it with a felt pen. It must have been a thorn that caused that because I couldn't see anything!

Next you dry off the tire...

Then you get your patching kit. Mama used to have one a long long long time ago but never used it... so got rid of it. Sigh... So this one came from Canadian Tire...

It has 4 self-adhesive patches. Hmmm... that's a new invention. Back in the day, you needed a tube of glue and what not...

Nope... all you need here is a bit of sandpaper to rough up the tube and then you just stick on the patch!

Super-duper easy!!!

Then the back edge of the tire goes onto the rim... easy...

The tube comes next...

It takes a bit to get that stuffed back in under the tire...

Most important part is to make sure the valve stem is nice and perpendicular...

I thought we would need our screw-driver tool to put the front edge of the tire back on but nope...

Ta-dah!!!

Now we just need to put some air in it... Mama doesn't have a bike pump (ah-hem... possible Christmas gift for those who are looking for one!)... so we are going to use the truck pump....
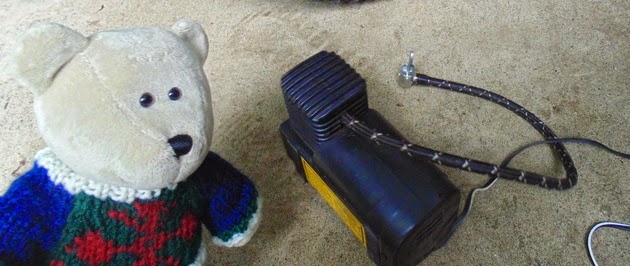
It plugs into the cigarette lighter and makes a lot of noise but it worked. And that's all there is to it. I do hope that this means we can go on a bike outing soon!!

Monday, February 16, 2015

Handy Sandy - How to Replace Door Handles

Hullo blogger pals. Another episode of Handy-Sandy here. I am beginning to think that I this has become a home reno blog but Mama says it's just cause it's been raining so much. It's to keep me from getting bored...

Today we are replacing door handles... like on bedroom and bathroom doors. There was a sale at Rona and soooo... today is the day! Now... these door handles, to be perfectly honest, don't work the greatest. They stick quite a bit and are a nuisance. They aren't quite brass... nor copper... so let's just call them... crass! (heh-heh).


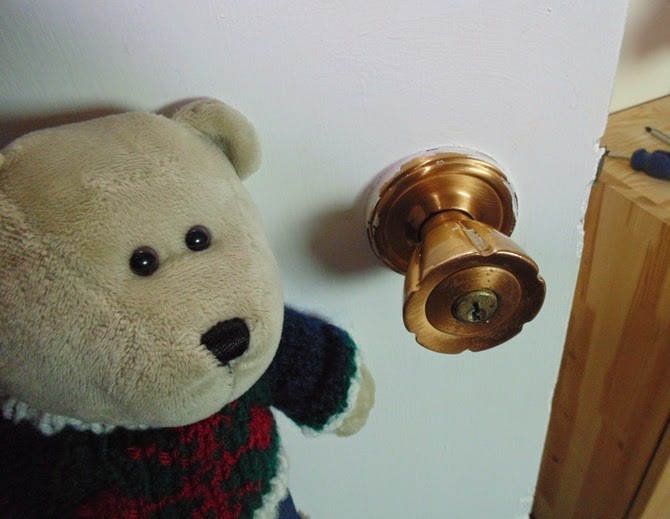
Not to mention painted... Anyhow... how to get them off... good question. There is only one hole on the back.... and not a screw in sight.

 Well... it turns out, you pop off that painted bit and it turns around so you turn it to the 12 o'clock position and undo the first screw... and then rotate it to the 6 o'clock position and undo the second one.

Can we say complicated?

There we go... Phew... those are some heavy door knobs... and a weird mechanism inside too. Must be from the Middle Ages (Ben & Jerry's Papa knows all about that era...)

So, then you have the hole in the door and the latch thingie-majig to get out...

You undo these two screws on the plate...

And then the thing just pops out.

Then you get your knew door handles... Ooohh... ahhhh... brushed nickel lever style handles ($12 Can at Rona!). They are reversible...

Which means... you can not put them on like this... which is upside down... But you pop each handle off the inner workings and exchange them...

So it looks like this! The lever handle end should always point down... Or so says YouTube...

There we go.... this was a beary easy job once we figured out the reversible bit...

Friday, February 13, 2015

Mail!!

Hullo!! I got mail today!! It was a card from Jerry and Ben!

You can tell it's from them because of the fleur-de-lis on the back... that's Ben's signature mark...

And the cute little bear heads on the front... that's Jerry's touch!

They sent a postcard...

Awww... thanks!!! And some Winnie-the-Pooh stickers!!

I'm going to stick it on the fridge... thanks guys! Happy Valentine's Day to all my Blogger Pals.

Tuesday, February 10, 2015

DIY Starbucks Hot Chocolate

Hullo bears & not-a-bears. As you know, I have been super hard at work supervising the bathroom reno. Now, it is time for payment!

But... instead of using a packet of Starbucks hot chocolate, we are going to make our own! Yup... apparently it can be done... I found a recipe online... Let's see how good it is. You need cocoa, sugar, milk and vanilla extract.

Mama had two bottles of vanilla extract... except one was rum extract... I rather wanted to try that one but Mama said "No!". Sigh...

So... first you pour a bit of water (next time use milk) in a glass measuring cup. About 2 tablespoons, give or take.

Add 2 tablespoons of Cocoa.

Then add sugar... the recipe said 2 Tablespoons, but we went with 1.5 and it was still good.

Now, stir it up good... you want to make a slurry/syrup of all that cocoa and sugar goodness.

Then you nuke it for about 30 seconds.

Take it out and add 1.5 cups of milk to the measuring cup. Yes... we started with a small measuring cup and then had to transfer the cocoa mix to the bigger one. Next time... just use the 2 cup measuring cup!

And then you nuke it for 3 minutes... while you decide... vanilla or rum..

Then you put a few drops (not a lot) of the extract in your mug...

There it is!

And wait for your hot cocoa... sigh....

Hmmm... I just realized, my Starbucks mug will probably be too small... so I switched to a bigger mug.

There you go!! Stir it up nicely again and have a sip. Mmmmmmm..... Mama and I both rate this at 9/10!

Saturday, February 7, 2015

Handy Sandy's Bathroom Renovation - The Reveal

Hello blogger pals! Well, the toilet is finally installed! Yay! So here are the last days of the renovation...

First... the flooring had to go in. We used the same plank vinyl as in the kitchen. It is a "floating" floor so went right on top of the funky 70s linoleum.

I was a beary good supervisor and suggested that they stagger the tile "grout lines" so it looked a bit different than in the kitchen (where they were all lined up).

I think it is working out well!

There was a lot of cutting and measuring... but it helped that we had done a floor like this before.

Just that last little toilet corner to do!!


Once the floor was in... it was time to install the baseboards...

 That went super quick with the brad nailer... although, Mama's mitre saw wouldn't cut the 3.5 inch baseboards at the 45 degree cuts... so we had to go old school and get a mitre box. It worked... just required a bit more dap in the corners. Then the baseboards needed a final coat of paint because the brad nail holes had to be spackled and.... you know how it goes.

And today the toilet went in... so now... finally... The Reveal!!

Ohhh... ahhh...It looks soooo much better. Before the walls and the cabinets were the same beige colour. The floor was beige... and the light was brass. ick!

Everybody is beary happy with how it turned out.

And we like the new shaker-style look to the window trim!

As for the tub.... we got a fancy-schmancy curved shower rod...

And the tub and tub surround are a beautiful clean white. There will be no water leaks!! And the faucets were replaced by one handle which means... better control of water temperature and pressure! The old one didn't work very well. As soon as you converted from tub water to shower water, the temperature would go all wonky. Visitors hated it!

So there you go... bathroom done... now it's time for some long-overdue, well-deserved hot chocolate!

Friday, February 6, 2015

Patience, Little Bear... patience!

Sigh... good sekrebearies are so hard to find! I have been wanting to post the pictures of the completed bathroom except... I am still waiting for the humans to put the toilet back in. What with one thing and another, the finishing touches this week have taken a while. I have been told that tomorrow will be THE day!

Meanwhile, I am tapping my foot. It has also been bucketing rain here (by you too, Little Fox?) so no "winter fun" photos to show for it. I think Mama should send me on a trip to visit Jerry & Ben but... she says airfares are too expensive. Hmmph... at this point I would settle for parcel post!